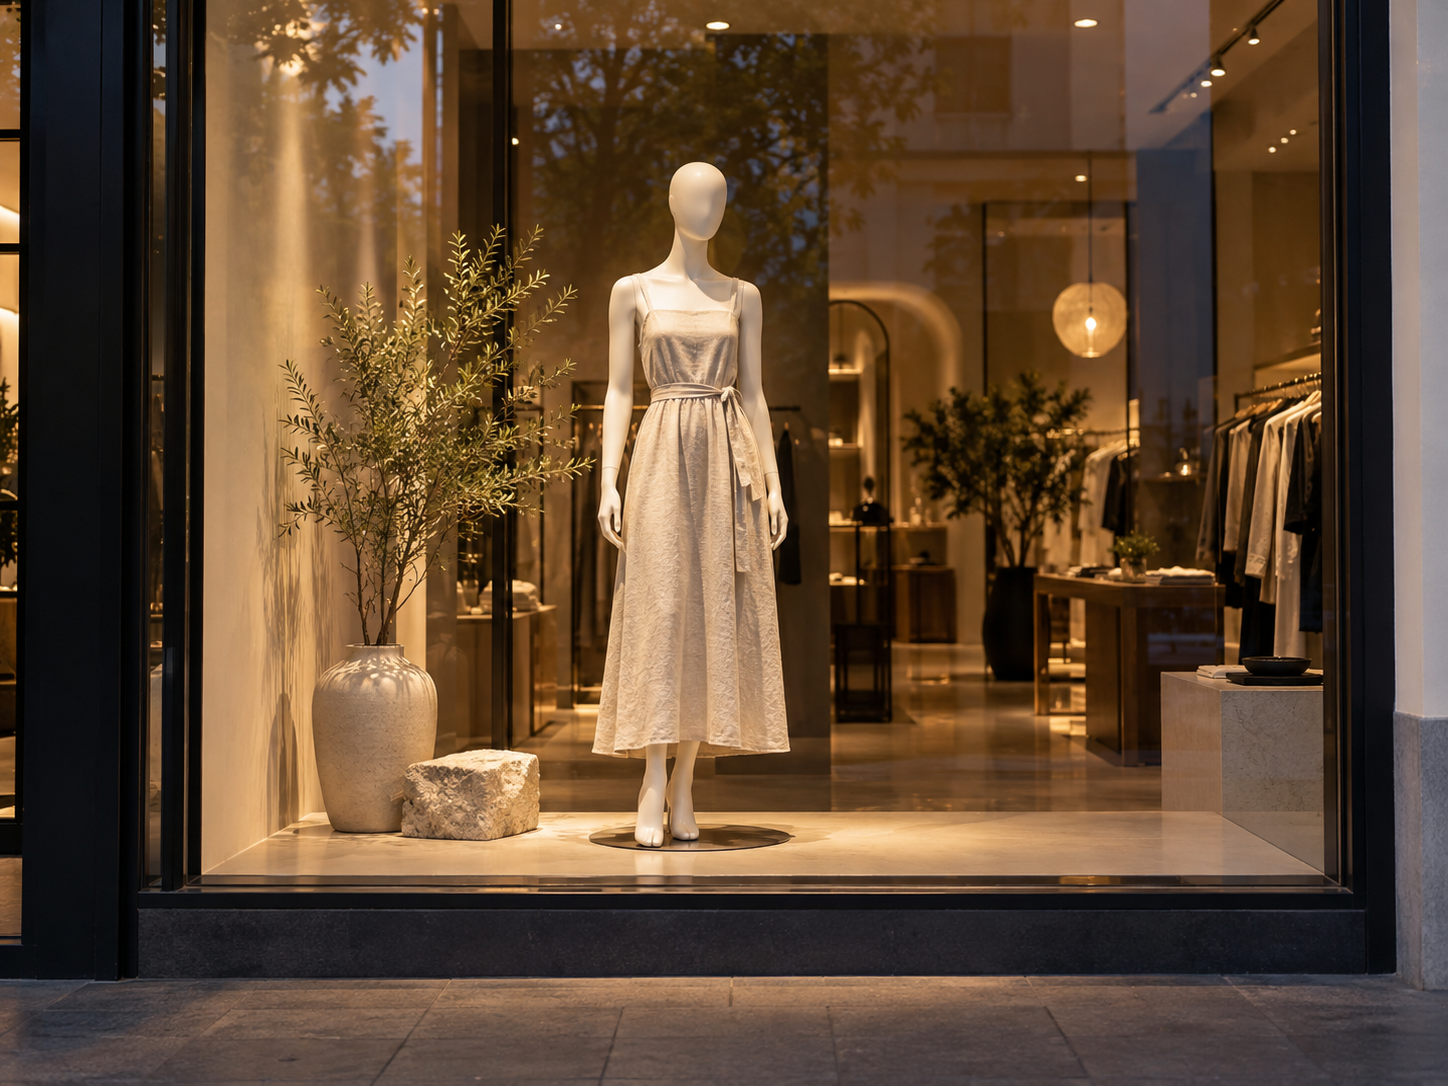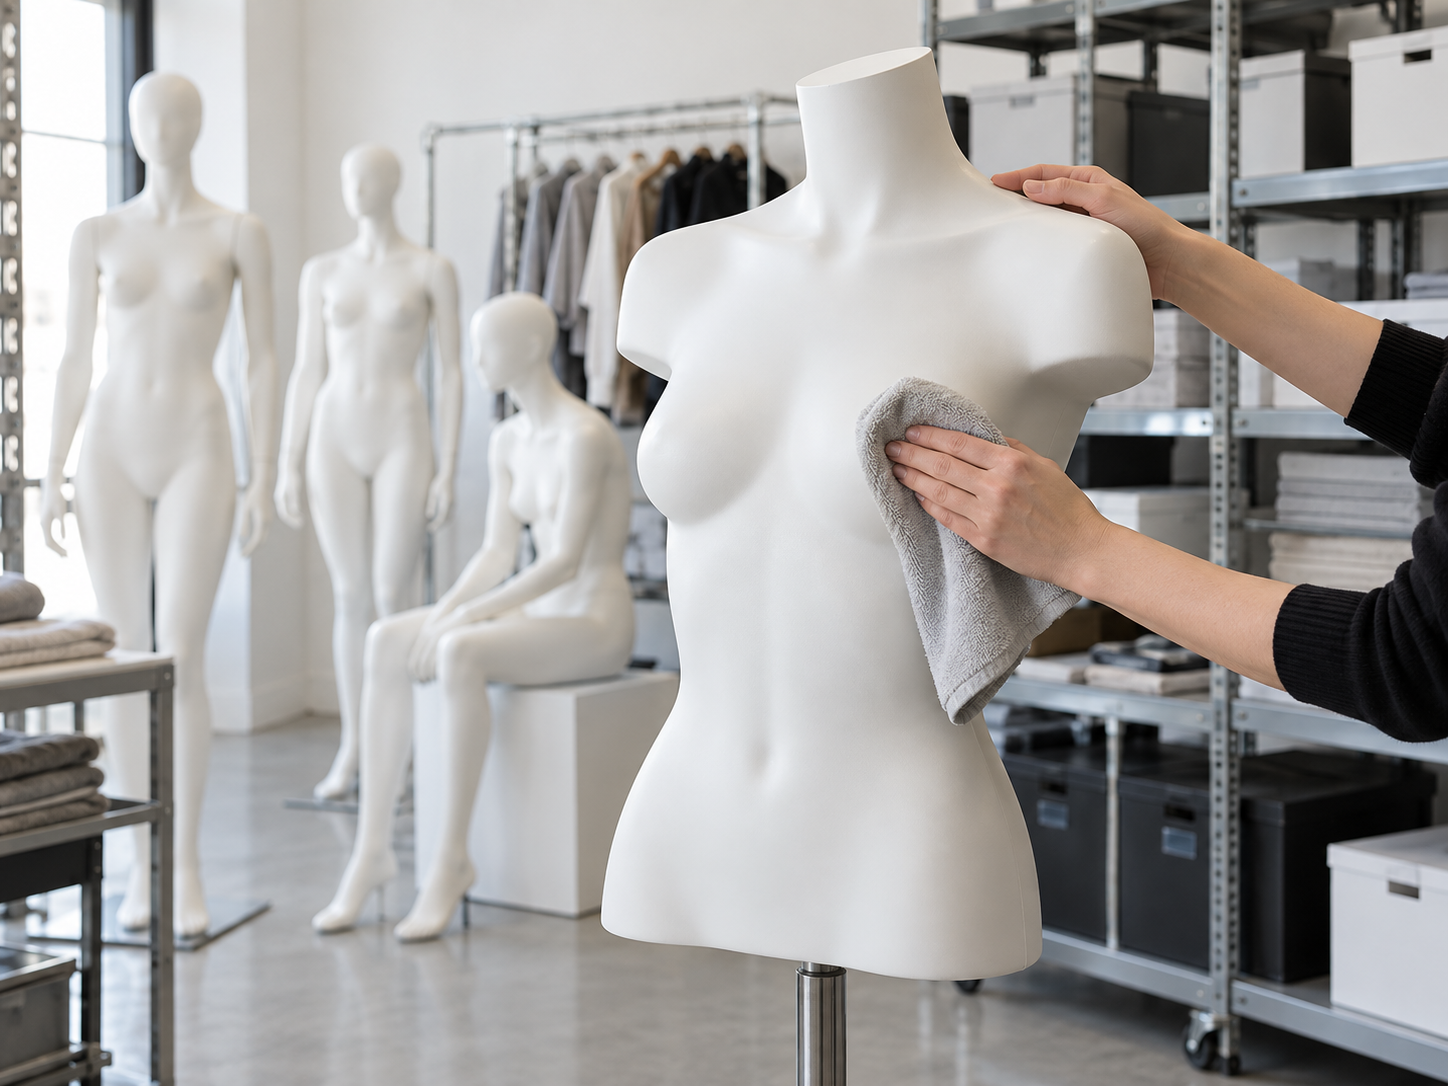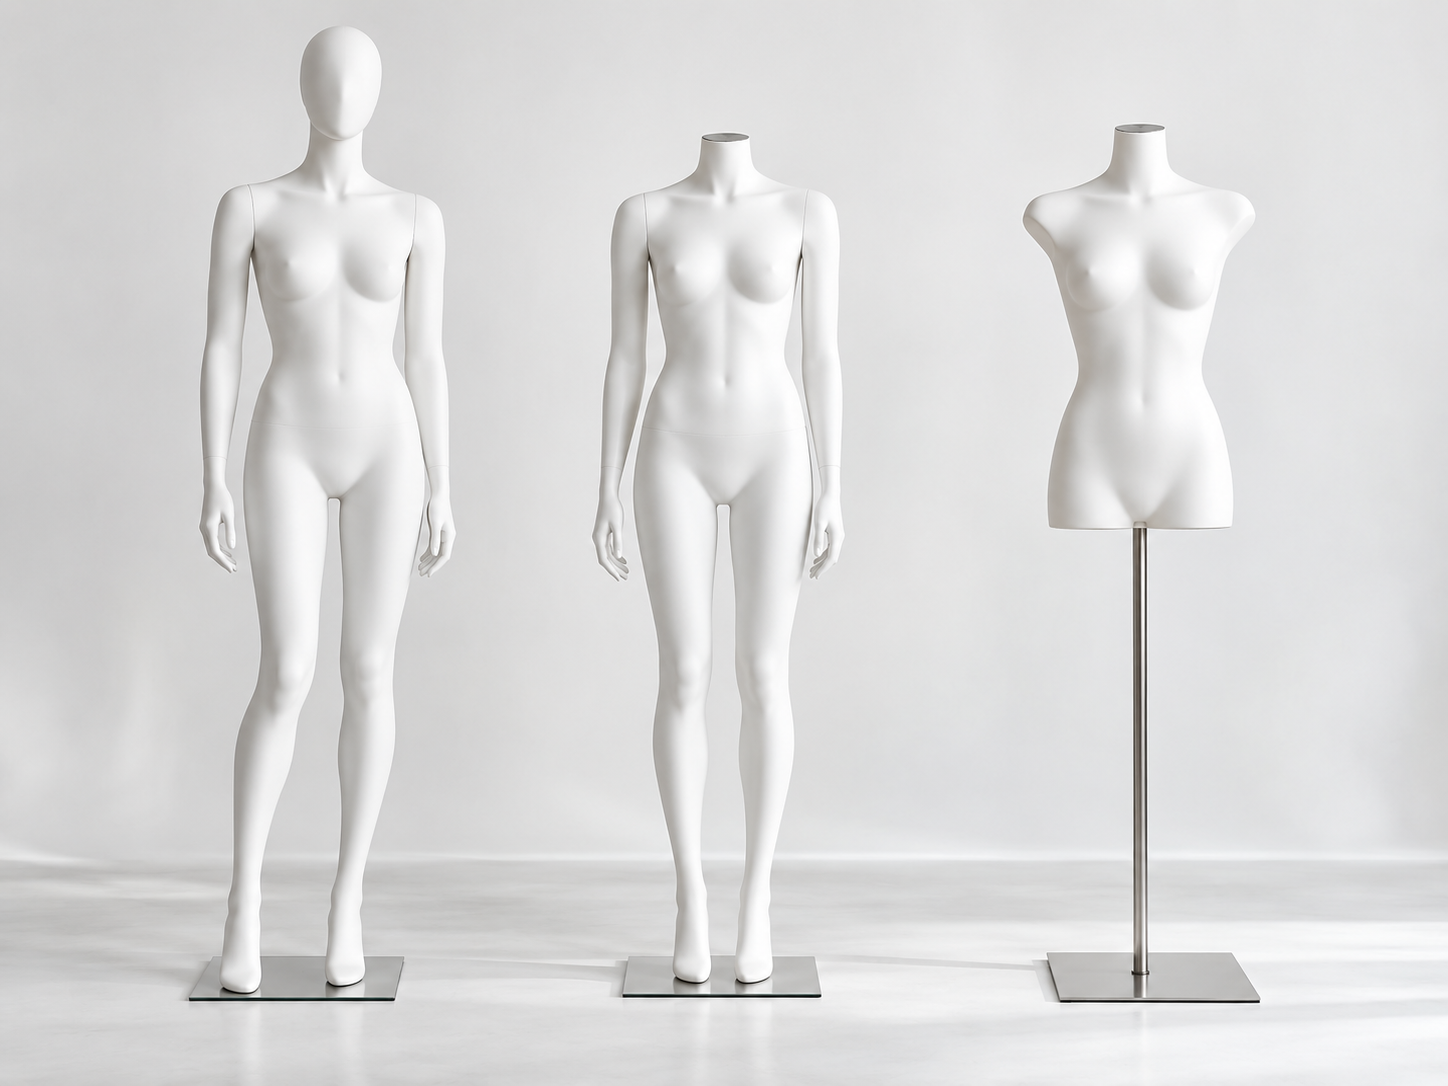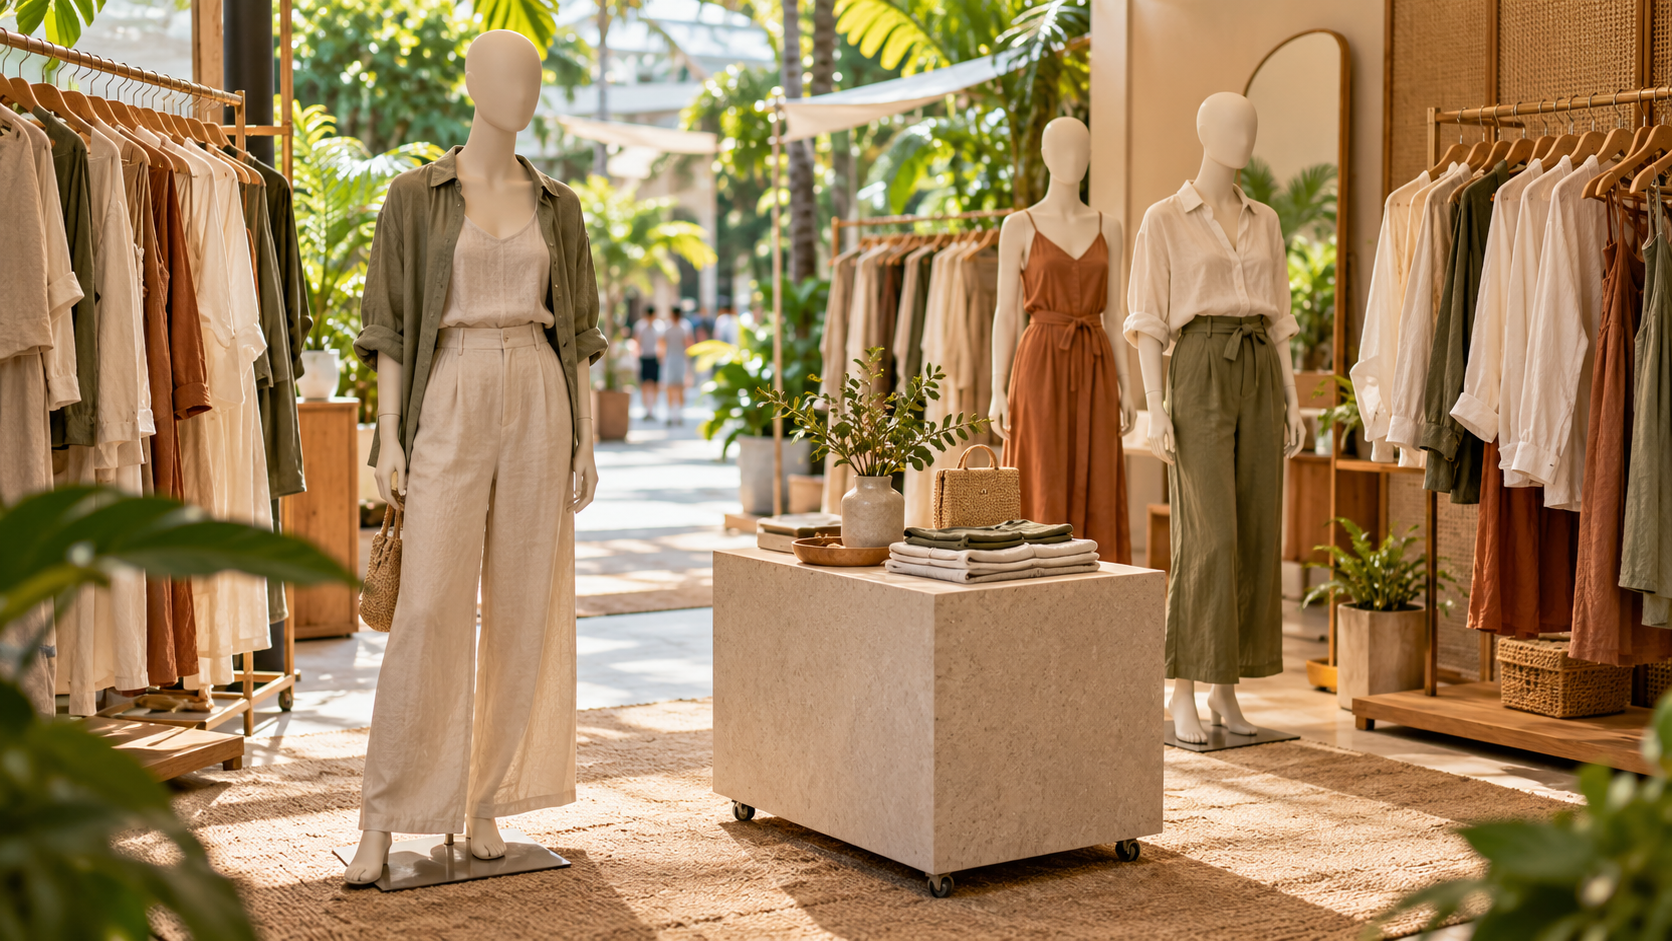
Featured image is an AI-generated editorial illustration, not a photograph of an actual installation or a specific product supplied by Asia Mannequin.
A fashion pop-up needs a display that helps shoppers understand the collection, find their size and try an outfit without confusion. Start with those jobs before deciding how many mannequins or racks to hire. A striking entrance is useful, but it cannot compensate for garments that are difficult to browse or a fitting area that interrupts the queue.
Use this checklist to turn your collection, venue and opening schedule into an equipment brief. It works for a short retail activation, a launch or a temporary selling space. Confirm the final plan with the venue and your suppliers before committing to quantities.
Give each part of the display a job
Choose the outfits that should introduce the collection. These could represent different categories, a coordinated look or a distinctive detail that is hard to appreciate on a hanger. Record the garment size and the pose or support it needs. A long dress, fitted jacket and two-piece outfit place different demands on a display.
Keep the selling stock separate from the presentation stock in your plan. Shoppers should be able to find available sizes without undressing the main display. Decide where spare sizes, packaging and returned fitting-room items will go. If that space is missing from the drawing, it will probably emerge as a pile behind the counter.
For an illustrative small collection, you might display two complete looks at the entrance and organise the remaining garments on rails by category. This is a planning example, not a recommended quantity for every venue. The right arrangement depends on your assortment and measured space.
Draw the footprint before choosing equipment
Ask for the usable floor dimensions, then mark fixed obstacles, entrances and the payment point. Include the footprint of each rack, mannequin base, mirror and fitting enclosure. A product photograph does not show how much space a customer needs to stand back, turn or browse around it.
Sketch the route from first glance to purchase. Can someone enter, approach a rail, try a garment and reach payment without repeatedly crossing the same narrow gap? Consider people carrying shopping bags, using mobility aids or accompanying children. Ask venue management to confirm access and circulation requirements for your arrangement.
Measure the delivery route too. Check doorways, lift dimensions and any turns between the loading point and the booth. Equipment that fits the selling area can still cause a setup problem if it cannot travel through the agreed entrance.
Match mannequins and racks to the clothes
Prepare a short specification for each display piece. Include full or partial body, finish, garment size and whether accessories need separate supports. Check how the mannequin assembles and whether dressing requires removing arms or other parts. Assign someone who understands the assembly to handle it during setup and collection.
For racks, ask about dimensions, hanging space and the suitable load for the intended garments. Include hangers in the quantity calculation. Check whether the rail height suits long pieces and whether any wheeled model has the features needed for its intended position.
Asia Mannequin lists a rental range and clothes rack rental options. Use the catalogue to build an enquiry, then confirm the exact model, quantities, dates and price. A catalogue listing should not be treated as a stock reservation.
Make fitting and payment easy to manage
Decide how customers will try garments before selecting the final display layout. Check the position and privacy of the fitting area, the mirror view and a place for personal belongings. Ask who supplies any enclosure, hooks or seating and confirm that the arrangement is acceptable to the venue.
Keep the fitting queue away from the most actively browsed rail where possible. Give staff a consistent place for items that need rehanging. During busy periods, an untidy return pile makes it harder to distinguish tried garments from stock ready for sale.
At payment, allow room for folding, packing and checking sizes. Store bags and packaging where staff can reach them without leaving the counter. If equipment cables are involved, agree their routing with the venue rather than improvising across a walkway.
Put delivery and collection into the brief
Provide the full address, unit or booth location, access contact and permitted unloading window. Ask whether the quote includes delivery, assembly, placement and collection, or whether these are separate tasks. Record who receives the equipment and checks its condition.
Clarify the rental period against the actual access schedule. The public closing time might be earlier than the collection window, while setup might happen the previous evening. Confirm responsibilities for late access, failed delivery, damage and changes to quantities in writing.
Plan packdown before opening. Allocate space for empty cartons and protective materials, label removable parts and nominate someone to check that every hired item is ready for collection. Keep an inventory that matches the supplier's list.
Rehearse the opening sequence
Run through unloading, assembly, dressing, stock placement, mirror checks and payment preparation in order. Set a time for the display to be complete before customers arrive. Take reference photographs after setup so staff can restore the arrangement during the day.
Before requesting a quote, gather your dates, venue measurements, garment types, desired display pieces and access details into one message. A precise brief gives the supplier something concrete to confirm and gives your team a workable plan for opening day.